Introduction
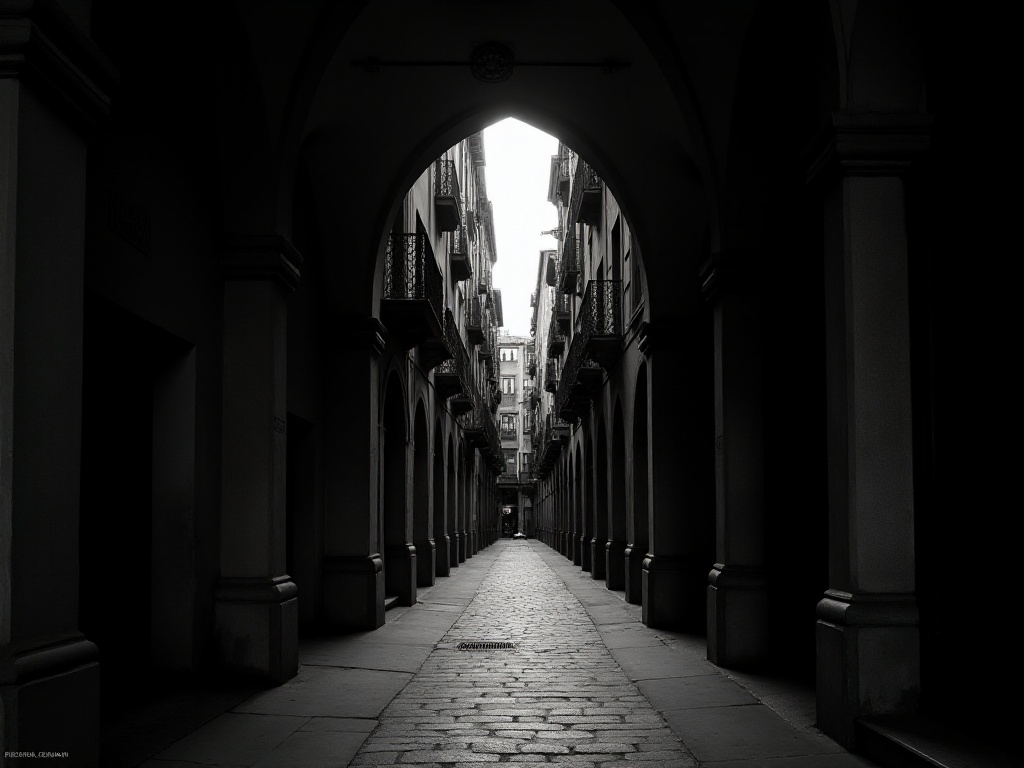
Have you ever encountered this situation: standing at a popular tourist spot, wanting to take a perfect photo, but constantly being disturbed by the endless stream of tourists? As a travel photographer, I deeply understand this frustration. Today, I'll share a magical photography technique - using long exposure to instantly "clear" crowded scenes.
Technical Analysis
To achieve this effect, we need to use Neutral Density (ND) filters. They work like sunglasses for your camera lens, allowing us to achieve ultra-long exposures in bright environments. When the shutter remains open for tens of seconds or even minutes, moving crowds become blurred until they disappear, while stationary buildings and landscapes remain sharp.
I remember the first time I tried this technique in New York's Central Park. It was a sunny afternoon, with the pathway crowded with visitors. I set up my tripod, attached a 10-stop ND filter, and set the shutter speed to 30 seconds. When I checked the resulting image in my camera, I was amazed - the bustling crowds had vanished as if by magic, leaving only the serene park landscape.
However, there are several points to note when using ND filters:
First is choosing the right density. From my experience, to achieve 2-3 minutes of exposure in bright daylight, you need at least 16 stops of light reduction. I usually stack a 6-stop and a 10-stop filter.
Second is the white balance issue. Different brands of ND filters might cause slight color casts, so I recommend shooting in RAW format for easier post-processing adjustment. I personally use B+W and NiSi brands most often, as they both offer excellent color reproduction.
Practical Guide
For the actual shooting process, I recommend this approach:
First, observe crowd patterns. For example, in front of the Hall of Supreme Harmony in the Forbidden City, tourists typically stop to take photos and then move quickly. In such cases, about 90 seconds of exposure time is enough to blur the crowds.
Next comes composition and focusing. Complete these tasks before attaching the filter, as dense ND filters make the viewfinder very dark. I usually use live view mode for composition, then switch to manual focus.
Most importantly is exposure calculation. Here's a useful tip: first measure the base exposure without the filter using aperture priority mode. For example, if it's f/8, 1/500 second. If using a 10-stop filter, you'll need to extend the shutter speed by 1024 times (2 to the 10th power), which is about 2 seconds. This calculation usually yields accurate results.
Creative Insights
In practice, I've found that long exposure not only removes tourists but also creates unique artistic effects. For example, at St. Mark's Square in Venice, which is packed during the day, a 3-minute exposure not only shows the ancient buildings standing majestically, but turns the flocks of pigeons into misty clouds and transforms moving clouds into beautiful silk-like trails.
Interestingly, this technique has given me new insights about time. In the world of long exposure, moving objects become blurred, while only constant things remain sharp. Isn't this just like our lives? Temporary commotion eventually dissipates, while truly lasting things endure.
Advanced Techniques
After mastering basic long exposure techniques, we can go further. For instance, during sunrise and sunset, the sky is often much brighter than the ground. This is when graduated ND filters come in handy, as they can effectively balance the light contrast in the image.
I used this technique when shooting sunrise at Huangshan Mountain last year. At 5 AM, with rolling clouds and rising sun, I stacked two filters: a 3-stop graduated filter to darken the sky and a 6-stop ND for long exposure. The final photo captured both the dynamic movement of the clouds and the perfect details of the sunrise.
Regarding graduated ND filters, there are several key points to note:
First is judging the gradient position. Generally, the gradient line should be slightly above the horizon to avoid over-darkening the upper portions of buildings or mountains.
Second is choosing between soft and hard gradients. For seascapes, where the horizon is straight, hard gradients work better. For mountainous terrain with irregular horizons, soft gradients provide more natural transitions.
Equipment Selection
Regarding equipment, many people ask: how much money is needed to start long exposure photography? Actually, the barrier isn't high. A basic ND filter kit with holder costs about 1,500 yuan. Of course, if budget allows, I recommend the following equipment:
For cameras, full-frame bodies have an advantage in noise control during long exposures. I currently use a Sony A7R4, as the high resolution helps with cropping in post-processing.
A tripod is crucial and must be very stable. After trying many brands, I settled on a Gitzo carbon fiber tripod - lightweight yet extremely stable. Though expensive, it's worth the investment if you shoot frequently.
For filter systems, I recommend square filters over circular ones. Square filters are easier to stack, and graduated effects are more precise to adjust. The NiSi V6 kit offers excellent value for money.
Post-Processing
After shooting, post-processing is equally important. Long exposure photos often present specific issues that need addressing:
First is vignetting. Stacked filters often cause darkened corners, which need correction using the lens correction tool in Lightroom.
Second is color temperature. Even high-quality ND filters can introduce slight color casts, especially during long exposures. I usually start by using the white balance tool on white or gray areas in the image, then fine-tune temperature and tint.
Finally, noise reduction. Long exposures generate more hot pixels, especially when shooting in summer. I use Capture One's detail tool for this, as it removes noise while preserving detail well.
Creative Suggestions
Through years of practice, I've gathered some creative suggestions that might help you:
Be patient. Long exposure photography isn't fast food - each photo requires careful preparation and waiting. Sometimes I might stay at one position for hours waiting for perfect light and clouds.
Use pre-planning effectively. I use phone apps to check sunrise/sunset times and Google Maps to study shooting angles, which greatly improves efficiency on location.
Mind safety. When setting up tripods at popular spots, be careful not to obstruct others. When shooting by the sea, pay attention to tide times.
Closing Thoughts
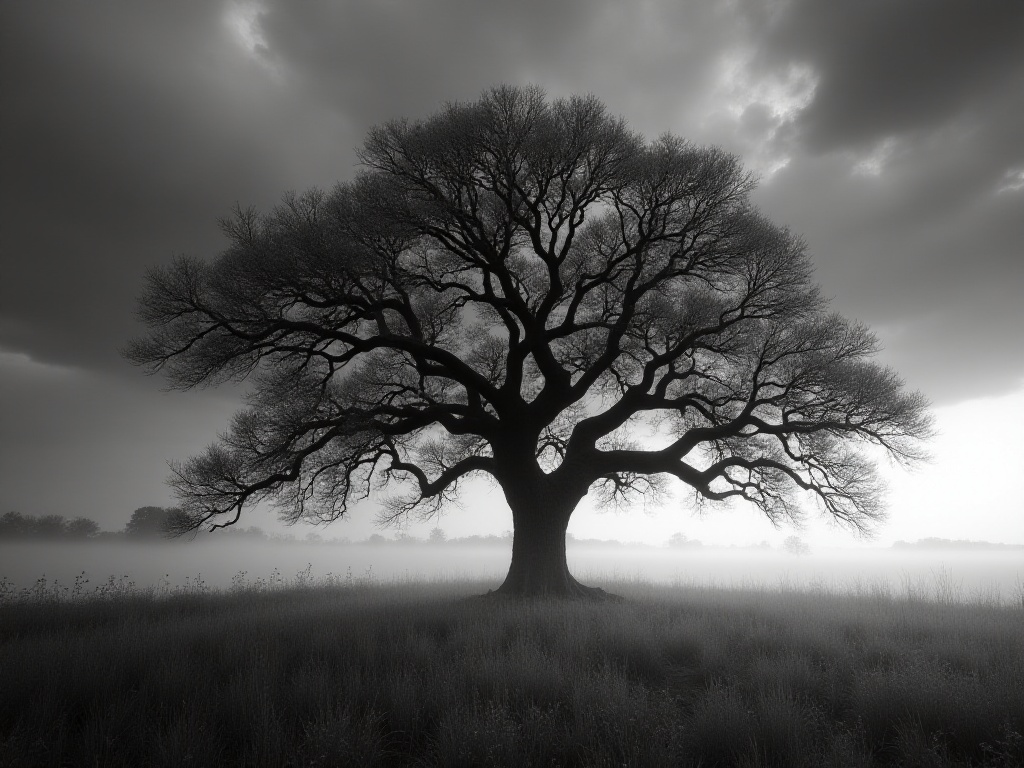
Through long exposure techniques, we can reveal a world completely different from our usual visual experience. In this world, chaos becomes tranquility, and moments stretch into eternity. Each press of the shutter is like conducting a time experiment with light.
Have you tried long exposure photography? Feel free to share your experiences and work in the comments. If you haven't tried it yet, consider bringing a tripod and filters on your next trip to experience this unique photographic pleasure. Let's explore the mysteries of time and light together.
Next
Long Exposure Techniques in Travel Photography: How to Capture Popular Sites Without Crowds
A comprehensive guide covering technical aspects of landscape photography, including filter usage, camera settings, composition techniques, and scene planning, combined with aesthetic principles to create culturally rich and visually compelling images
From Wide-Angle to Macro: Six Different Perspectives of Mount Fuji and What They Taught Me
A comprehensive guide to travel and landscape photography, covering diverse subjects from urban scenes to natural landscapes, detailing essential techniques in composition, lighting, equipment selection, and specialized macro nature photography methods
How Filters Enhance Travel Photography: A Blogger's In-Depth Sharing and Practical Experience
A comprehensive guide covering landscape photography essentials, from filter applications and equipment selection to composition techniques. Learn practical shooting strategies for both urban and natural landscapes, including pre-shoot planning and post-processing tips
Next
Long Exposure Techniques in Travel Photography: How to Capture Popular Sites Without Crowds
A comprehensive guide covering technical aspects of landscape photography, including filter usage, camera settings, composition techniques, and scene planning, combined with aesthetic principles to create culturally rich and visually compelling images
From Wide-Angle to Macro: Six Different Perspectives of Mount Fuji and What They Taught Me
A comprehensive guide to travel and landscape photography, covering diverse subjects from urban scenes to natural landscapes, detailing essential techniques in composition, lighting, equipment selection, and specialized macro nature photography methods
How Filters Enhance Travel Photography: A Blogger's In-Depth Sharing and Practical Experience
A comprehensive guide covering landscape photography essentials, from filter applications and equipment selection to composition techniques. Learn practical shooting strategies for both urban and natural landscapes, including pre-shoot planning and post-processing tips

