Preface
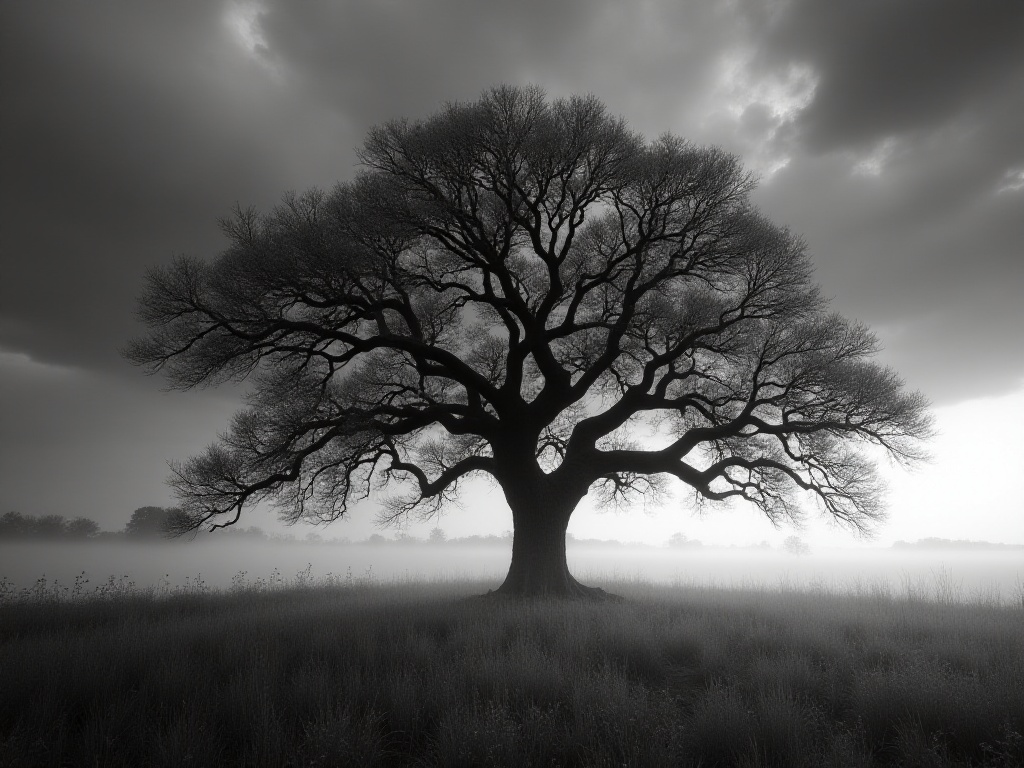
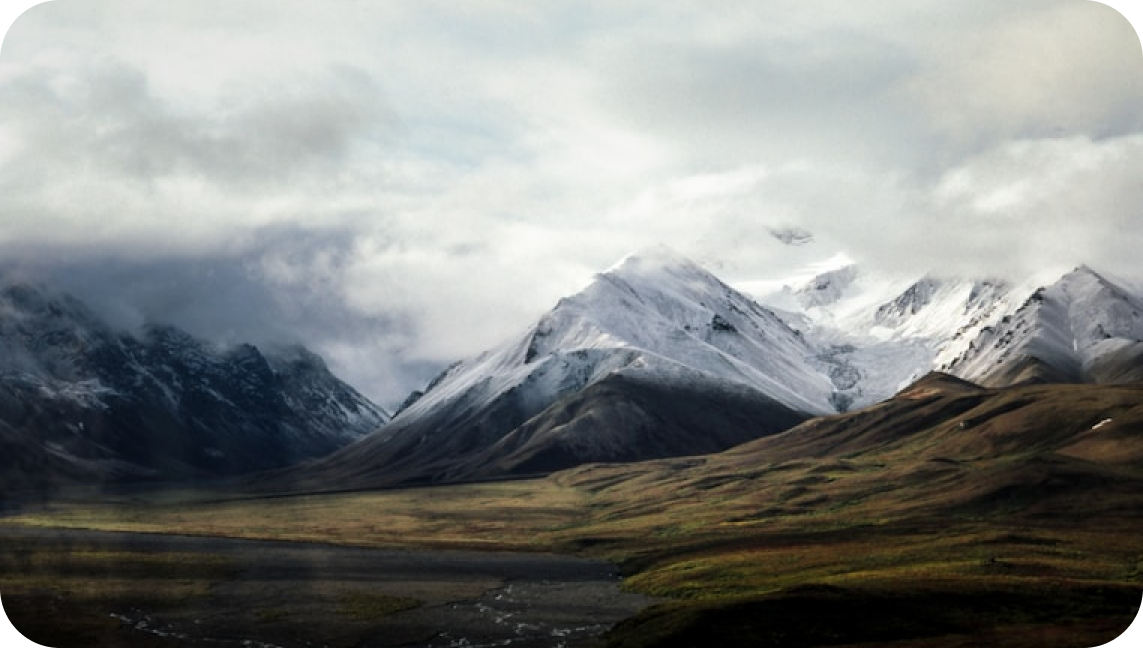
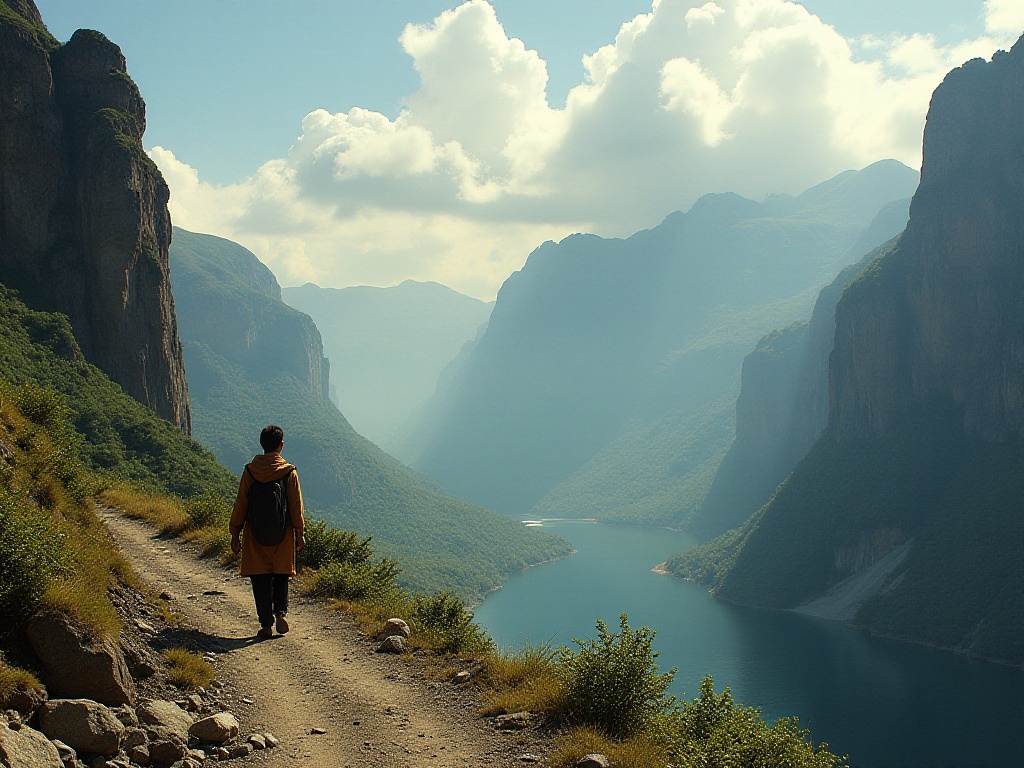
Have you ever wondered what challenges and opportunities a cross-European road trip would bring to a photographer? As a blogger passionate about travel and photography, I recently completed a 4000-mile round trip from Edinburgh to Barcelona. This wasn't just a simple journey, but rather a visual exploration. From the rolling mountains of the Scottish Highlands to the golden sunflower fields of Provence, France, and the Mediterranean coast of Catalonia, Spain, each place had its unique charm.
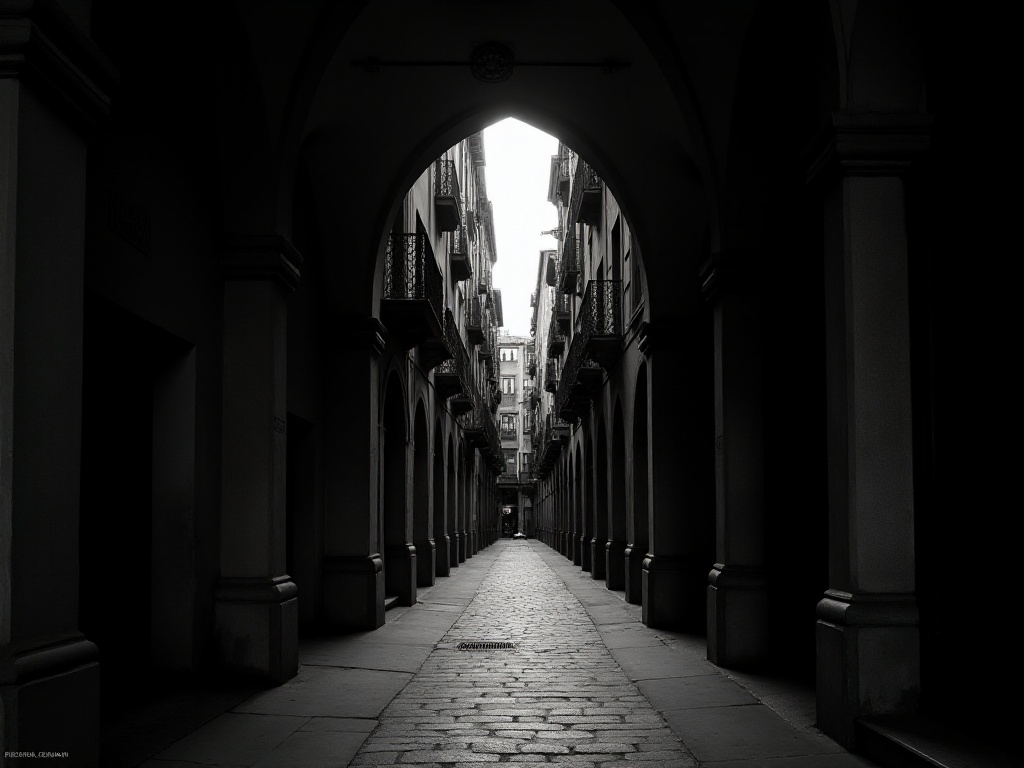
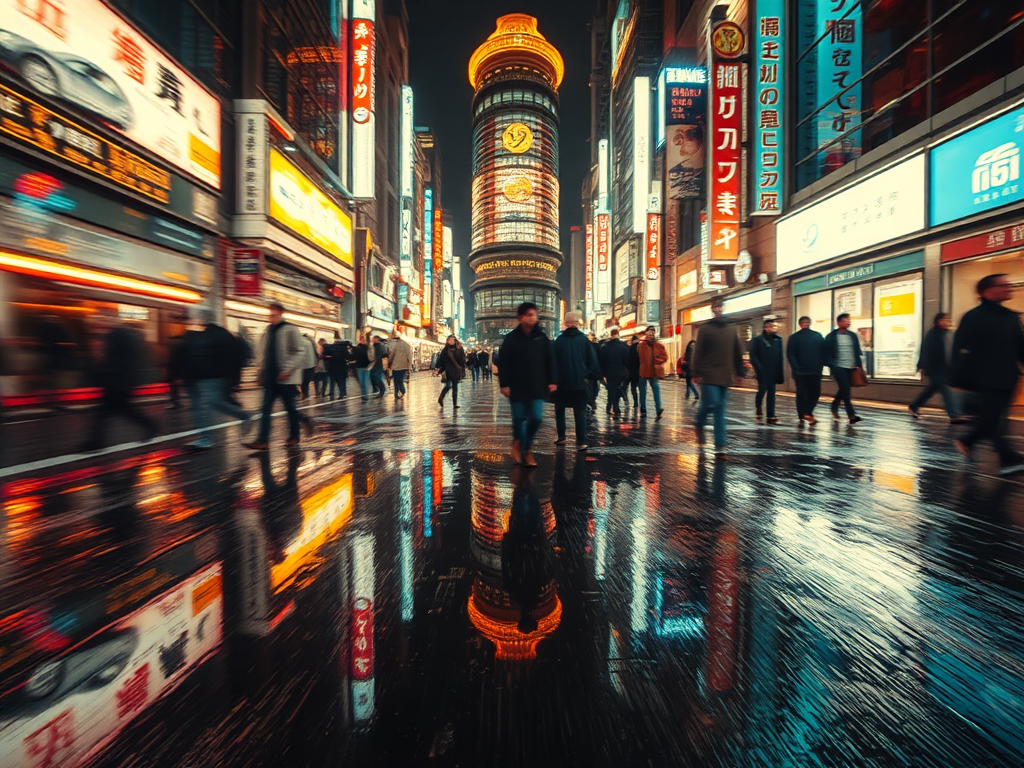
During this journey, I deeply experienced Europe's cultural diversity. Crossing different countries, I saw Gothic cathedral spires silhouetted in the morning light, experienced the tranquility of mountain towns, and felt the bustle of modern cities. These experiences not only enriched my photography portfolio but also gave me a new understanding of travel photography.
Equipment Selection
When it comes to choosing photography equipment, it was indeed a complex decision. After much consideration before departure, I decided to find a balance between portability and professionalism. I chose the Canon EOS R5 as my main camera body, which excels at both landscape photography and street/portrait shooting. Its high resolution gives me more flexibility in post-processing cropping, while its excellent stabilization allows me to take sharp photos even in low light conditions.
For lenses, I brought the Canon RF 100mm 2.8 macro lens and 35mm macro lens. The 100mm macro lens was my main lens, capable of 1:1 macro shooting while also serving as a decent portrait lens. The 35mm macro lens was better suited for street photography and environmental portraits, with its angle of view close to the human eye, effectively capturing the atmosphere of scenes.
For the flash system, I chose the Godox AD200 Pro and AD100 Pro. Why two flashes? Because during travel, you often need fill light. For instance, when shooting portraits on sunny days, strong sunlight creates unflattering shadows on faces, requiring flash fill light. The AD200 Pro has higher output power, suitable for use in sunlight, while the AD100 Pro is more portable and suitable for carrying around.
The tripod is equipment many photographers easily overlook, but during long trips, a good tripod can help you capture many otherwise impossible shots. I chose a Gitzo carbon fiber tripod, which, although expensive, weighs only 1.2 kg and is compact when folded, making it perfect for travel. Most importantly, it's very stable, maintaining steadiness even in windy conditions.
Besides these core equipment, I brought some necessary accessories. These included several spare batteries (trust me, you can never have too many), several high-speed memory cards, a portable hard drive for photo backup, and some cleaning tools. I put all these items in a waterproof camera bag, so I didn't have to worry about equipment getting wet in the rain.
In practice, this equipment combination performed excellently. Although the total weight was close to 10 kg, considering it could handle everything from landscapes to portraits, from macro to street photography, this weight was completely acceptable. Moreover, through proper storage and distribution, this equipment didn't burden my travel too much.
Macro Photography
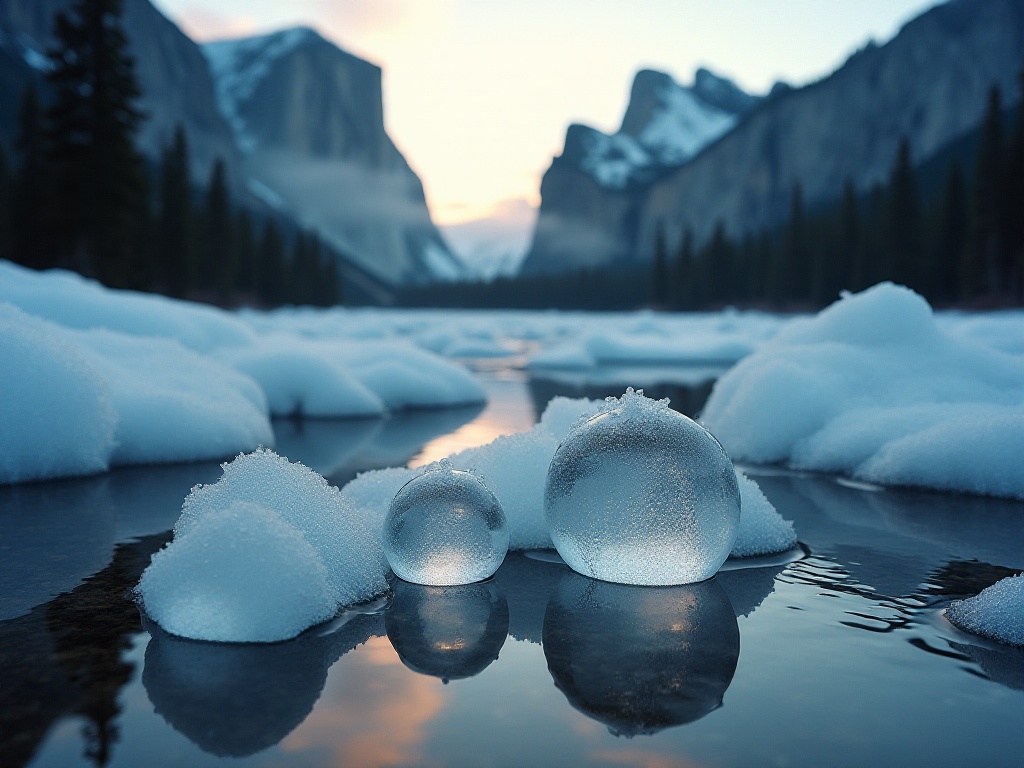
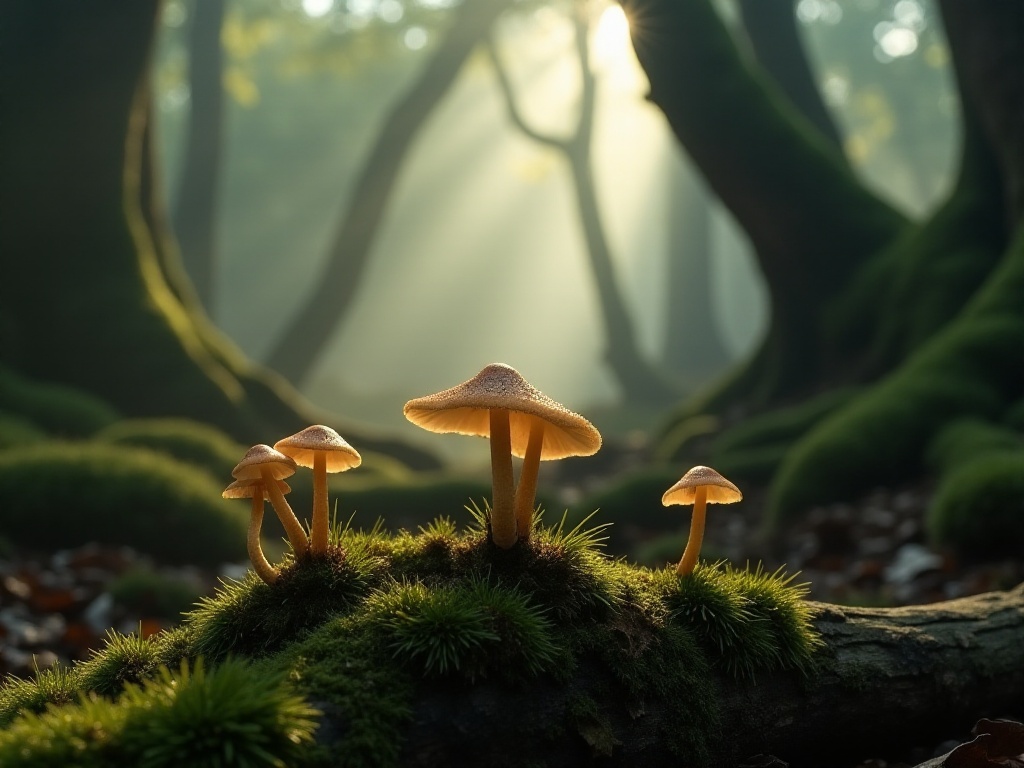
Speaking of macro photography, this was perhaps the most fascinating part of this trip. By the Merced River in Yosemite National Park, I shot a series of frozen bubbles and ice crystals using a 17-35mm wide-angle lens. While this scene seems simple, capturing it well requires many techniques.
First is timing selection. I shot in the early morning when the light was softest and temperatures were low, so the ice crystals wouldn't melt quickly. To achieve the best effect, I chose an f/11 aperture, which ensures sufficient depth of field without affecting image sharpness due to diffraction. ISO was set to 40 for the cleanest image quality. Shutter speed was set at 1/30 second, which requires a tripod but ensures sufficient image brightness.
During shooting, I found that even the slightest vibration would affect image clarity. So I used a remote shutter release and mirror lock-up function - these small details are especially important in macro photography. Additionally, I used a polarizing filter to eliminate water surface reflections, allowing clearer views of the bubble structures underwater.
What makes this photo special is that it reveals nature's most subtle beauty. The ice crystal shapes are ever-changing, some like tree branches, others like flowers, while the bubbles are like time capsules frozen in ice. Each bubble has its own story, perhaps from plant decomposition at the river bottom, or traces of fish activity. Through the macro lens, these details we usually overlook suddenly become so clear and fascinating.
Throughout the journey, I constantly tried to discover new perspectives with the macro lens. Outside the Louvre in Paris, instead of photographing the glass pyramid like other tourists, I crouched down to shoot water droplets on the pyramid's glass surface, where sunlight refracted through the droplets created an abstract painting. In Amsterdam's tulip fields, rather than pursuing traditional wide-angle composition, I used the 100mm macro lens to capture dewdrops on flower petals, each perfectly reflecting the surrounding scenery.
Field Experience
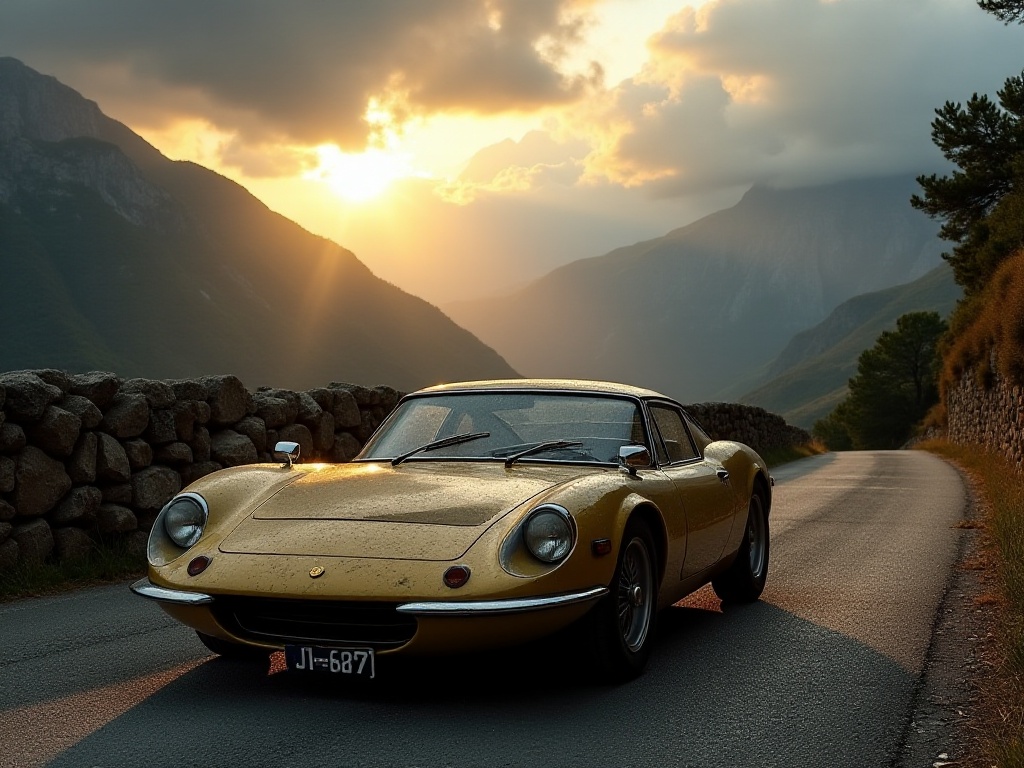
Long-distance driving indeed brought great challenges to photography. Eight hours of daily driving meant I had to use shooting time more efficiently. After this trip, I summarized some practical experiences.
First, learn to find beauty in seemingly ordinary places. For instance, during gas station breaks, I often used the 100mm macro lens to photograph water droplets on car hoods or oil drops on gas pumps. These seemingly ordinary scenes can present amazing visual effects through a macro lens. Oil drops refract rainbow-like light in the sun, while water droplets act like tiny mirrors reflecting surrounding scenery.
Second, make good use of golden hours. I would study routes in advance, calculate driving times, and ensure arriving at planned shooting locations during optimal lighting. I remember in Provence, France, I deliberately arrived at the lavender field before sunrise. When the first ray of sunlight pierced through the mist over the lavender field, the entire scene seemed coated in gold. I aimed my 35mm macro lens at a dew-covered lavender plant, waiting for sunlight to pass through the dewdrops - this photo later became one of the most popular works from the entire trip.
Weather is also a factor requiring special attention. I would regularly check weather forecasts and adjust shooting plans accordingly. Cloudy days are actually great for macro photography as soft light doesn't create excessive contrast. On sunny days, I would choose to shoot in early morning or evening, avoiding strong midday sun. Even when it rains, don't be discouraged - post-rain scenes often make for interesting photos.
Regarding shooting techniques, I found handheld macro photography challenging. Even the slightest shake affects image clarity. So I always carried a small tripod - although it added some burden, it was worth it for image quality. Additionally, I often used the camera's electronic level function, which helps with composition.
For composition, I like following the "less is more" principle. In macro photography, simple compositions often bring the strongest visual impact. I would carefully observe the subject, seeking angles that best show its characteristics. Sometimes, just changing the shooting angle can make the image completely different.
Work Display
After shooting, presentation is equally important. I found different photos suit different display methods. For example, those detail-rich macro works are best suited for large-size prints, allowing viewers to truly appreciate the photo's details. I usually choose quality art paper for printing, which well preserves the photo's layers and texture.
In home decoration, I have some personal insights. Black and white photos are especially suitable for living rooms, as they bring a sense of stability to the space. I hung a black and white detail shot of the Eiffel Tower taken in Paris in my living room - the black and white treatment makes this photo both modern and elegant. For those colorful landscape photos, I choose to place them at the entrance, giving a warm welcome feeling.
In post-processing, I particularly admire Philippe Sainte-Laudy's work. His color processing is excellent, especially in handling natural light. For instance, his forest photos always present a dreamlike atmosphere without appearing artificial. I often study his work to learn how to maintain natural feeling while highlighting artistic effects in color grading.
My post-processing workflow usually includes several steps. First is basic adjustment, including white balance, exposure, and contrast adjustments. Then comes local adjustments, like brightening shadows or darkening overexposed areas. Color adjustment comes last, where I pay special attention to maintaining natural color. When processing macro photos, I particularly focus on preserving details, appropriately increasing sharpness while avoiding over-processing that makes the image look unnatural.
Conclusion
This 4000-mile European road trip not only yielded many excellent works but more importantly gave me new insights into photography. Good travel photography isn't about how far you go, but how closely you look. Sometimes, a tiny water droplet or ordinary leaf can perfectly tell a place's story.
Through macro photography, I learned to observe the world from different perspectives. Those details we usually overlook often contain the most moving beauty. Whether it's a dewdrop on Paris streets or a snowflake in the Alps, every tiny moment is worth carefully recording.
This trip also made me understand that photography isn't as simple as pressing the shutter. It requires keen observation, patience to wait for the best light, and courage to try different shooting methods. Behind every successful photo is the photographer's thinking and creativity.
Oh, and finally, I want to ask: if you were to record your city with a macro lens, what would you choose to shoot? Perhaps morning dewdrops on cafe windows, blooming flowers in the park, or moss on ancient buildings. Every city has its unique details waiting for us to discover. Welcome to share your thoughts in the comments.
Next
From Wide-Angle to Macro: Six Different Perspectives of Mount Fuji and What They Taught Me
A comprehensive guide to travel and landscape photography, covering diverse subjects from urban scenes to natural landscapes, detailing essential techniques in composition, lighting, equipment selection, and specialized macro nature photography methods
Long Exposure Techniques in Travel Photography: How to Capture Popular Sites Without Crowds
A comprehensive guide covering technical aspects of landscape photography, including filter usage, camera settings, composition techniques, and scene planning, combined with aesthetic principles to create culturally rich and visually compelling images
How Filters Enhance Travel Photography: A Blogger's In-Depth Sharing and Practical Experience
A comprehensive guide covering landscape photography essentials, from filter applications and equipment selection to composition techniques. Learn practical shooting strategies for both urban and natural landscapes, including pre-shoot planning and post-processing tips
Next
From Wide-Angle to Macro: Six Different Perspectives of Mount Fuji and What They Taught Me
A comprehensive guide to travel and landscape photography, covering diverse subjects from urban scenes to natural landscapes, detailing essential techniques in composition, lighting, equipment selection, and specialized macro nature photography methods

Long Exposure Techniques in Travel Photography: How to Capture Popular Sites Without Crowds
A comprehensive guide covering technical aspects of landscape photography, including filter usage, camera settings, composition techniques, and scene planning, combined with aesthetic principles to create culturally rich and visually compelling images
How Filters Enhance Travel Photography: A Blogger's In-Depth Sharing and Practical Experience
A comprehensive guide covering landscape photography essentials, from filter applications and equipment selection to composition techniques. Learn practical shooting strategies for both urban and natural landscapes, including pre-shoot planning and post-processing tips